How to Set Up widevpn WireGuard Client on GL.iNet Router
WireGuard is a modern, high-performance VPN protocol that ensures secure and fast connectivity. GL.iNet routers provide built-in support for WireGuard, making the setup straightforward. Follow this guide to configure your router for WireGuard.
1 Log in to the Router’s Admin Panel Connect your device to the router's Wi-Fi or via Ethernet cable. Open a web browser and enter the router's default IP address (typically 192.168.8.1) in the address bar.

2 Navigate to the WireGuard Interface Go to “VPN” > “WireGuard” in the left-hand menu. You’ll find two options: Client and Server. Select Client if you want the router to connect to a VPN server.
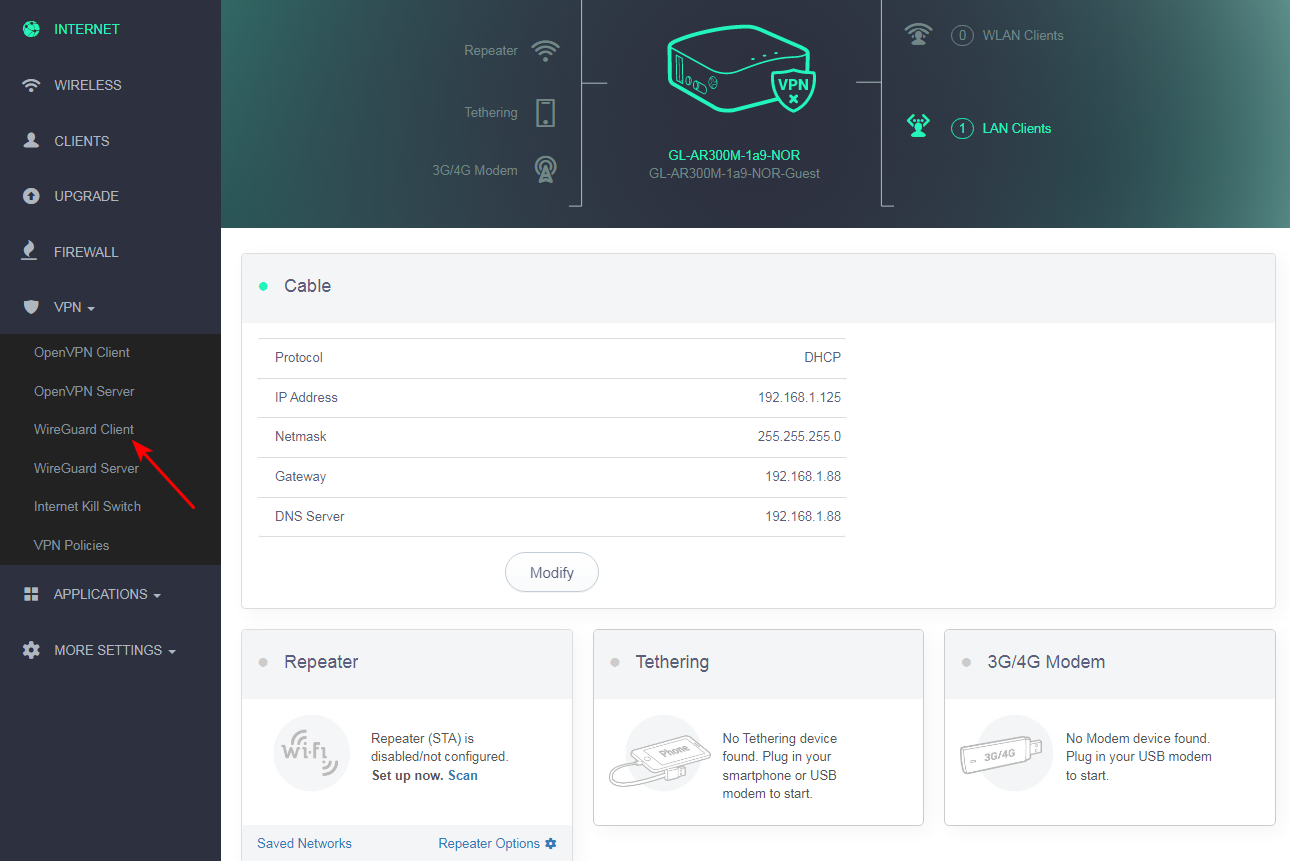
3 Create new WireGuard Client Click Add New Profiles.
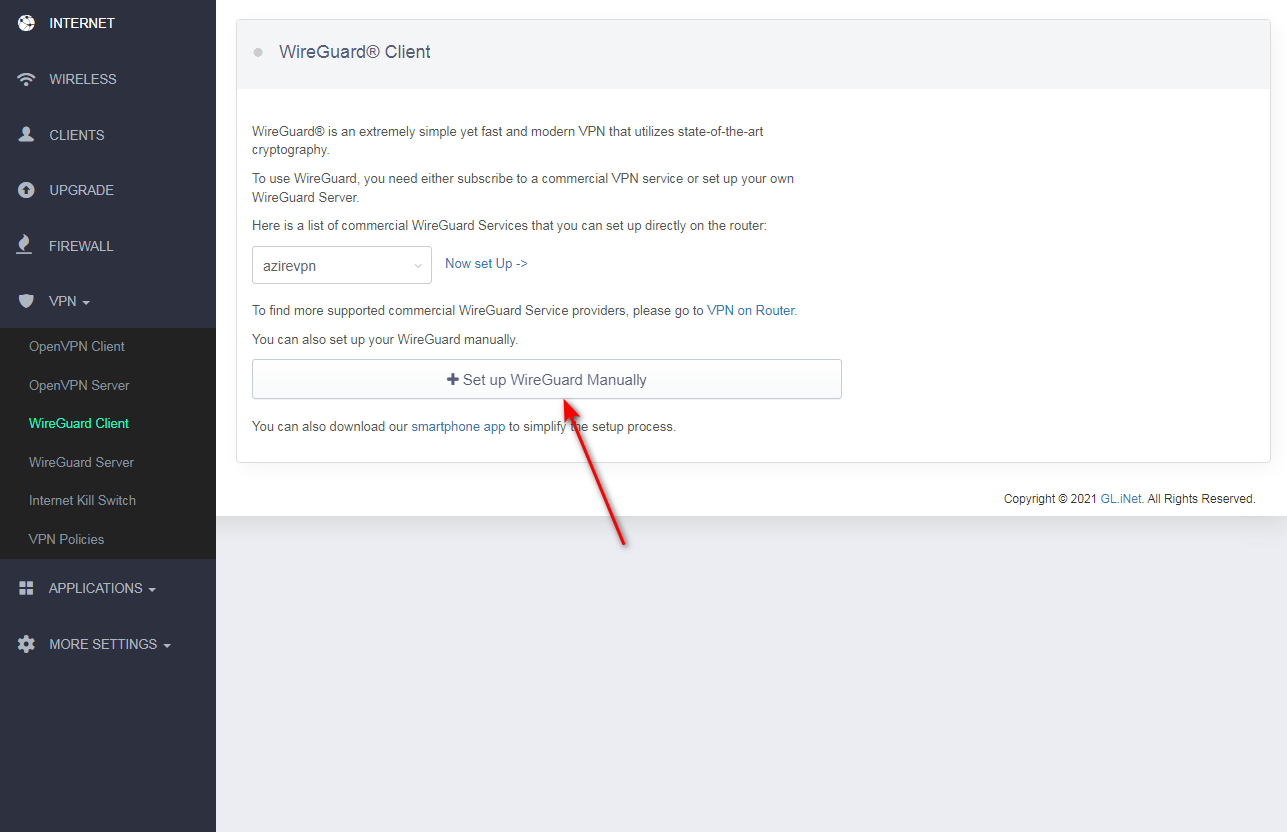
4 Specify custom Name of server and click Next. such as widevpn
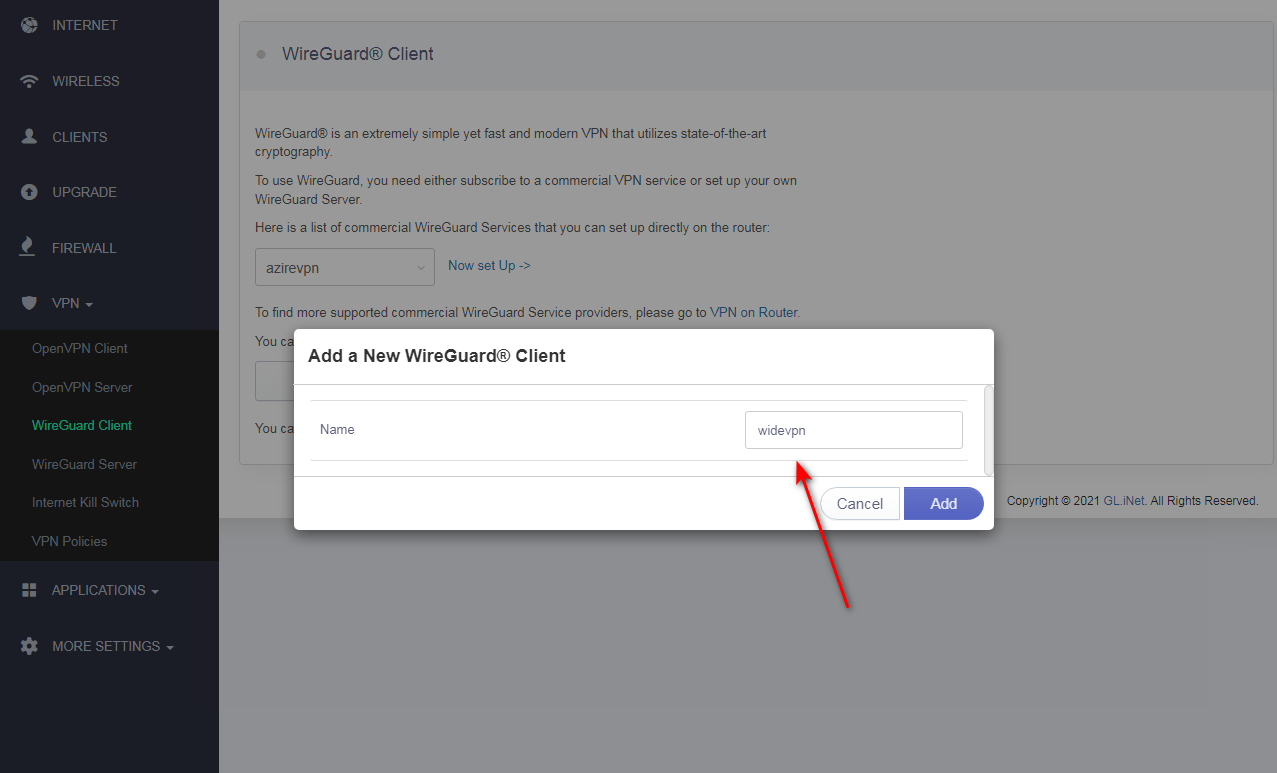
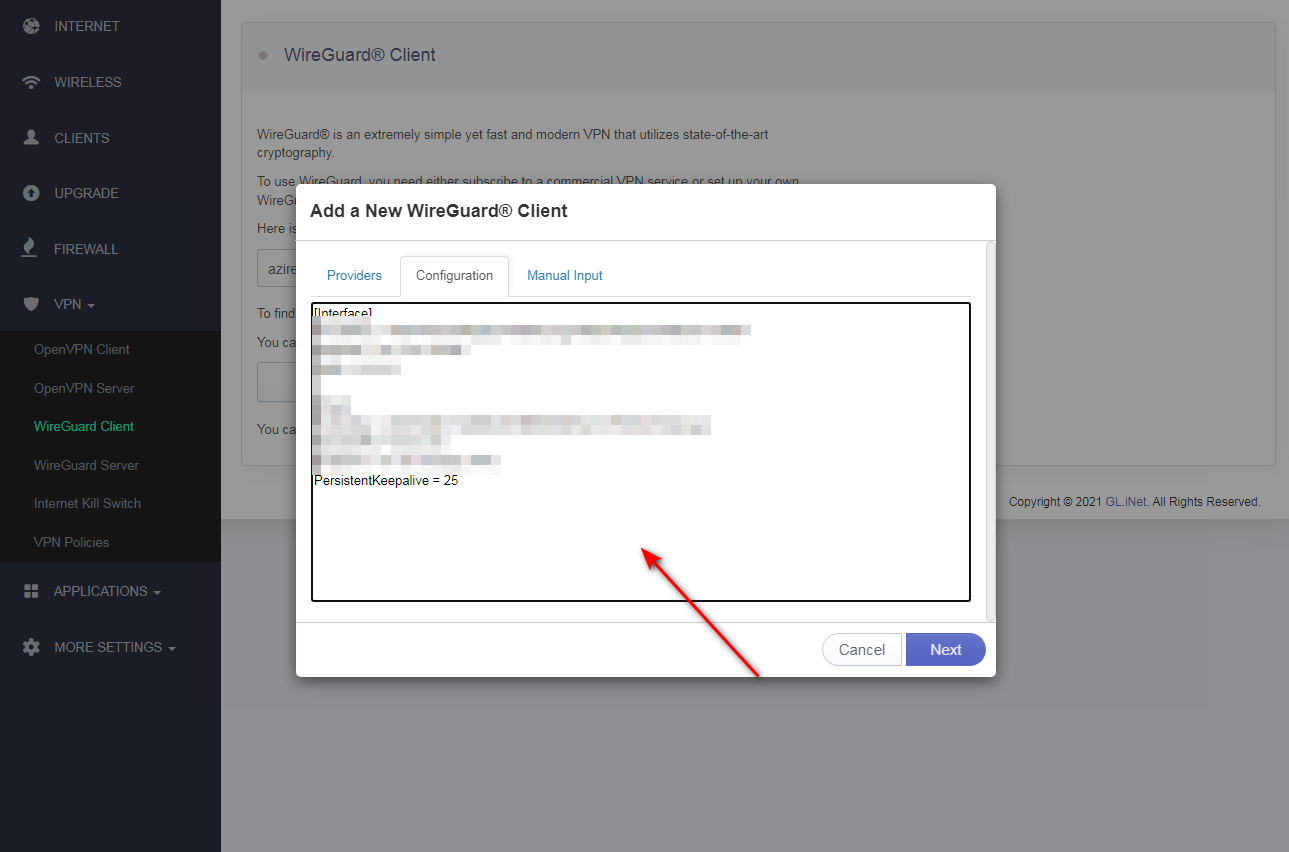
5 The Add a New WireGuard Client window will appear. In the Configuration tab, paste the details of the manual configuration settings you’ve generated before:
In member center, navigate to our WireGuard configuration generator.
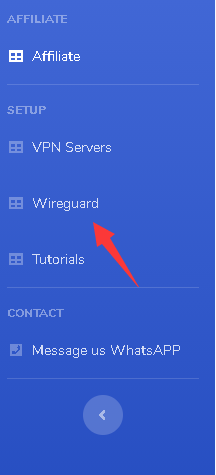
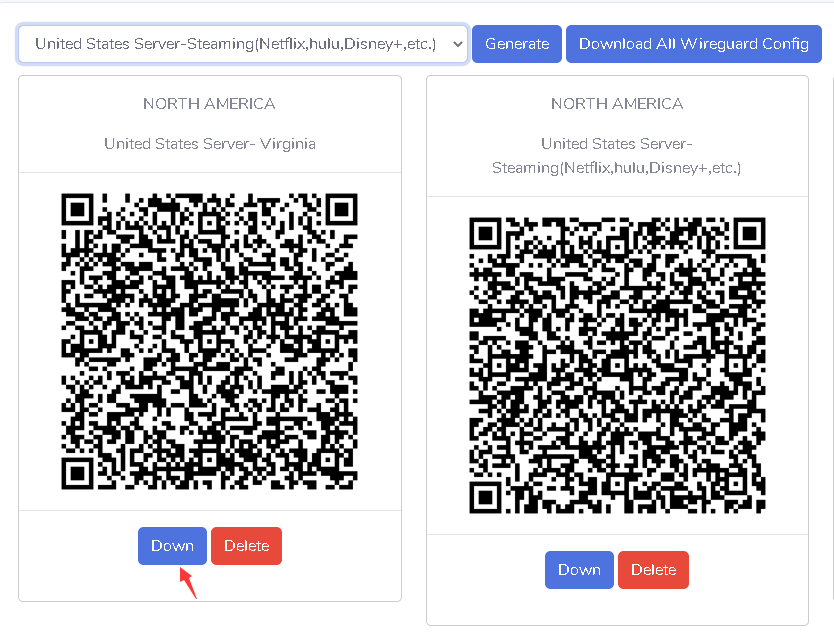
Scroll down at the configuration generator page and select your preferred location. Then click on the GENERATE button.

The configuration file will be saved to the Downloads folder as default or to your preferred location.
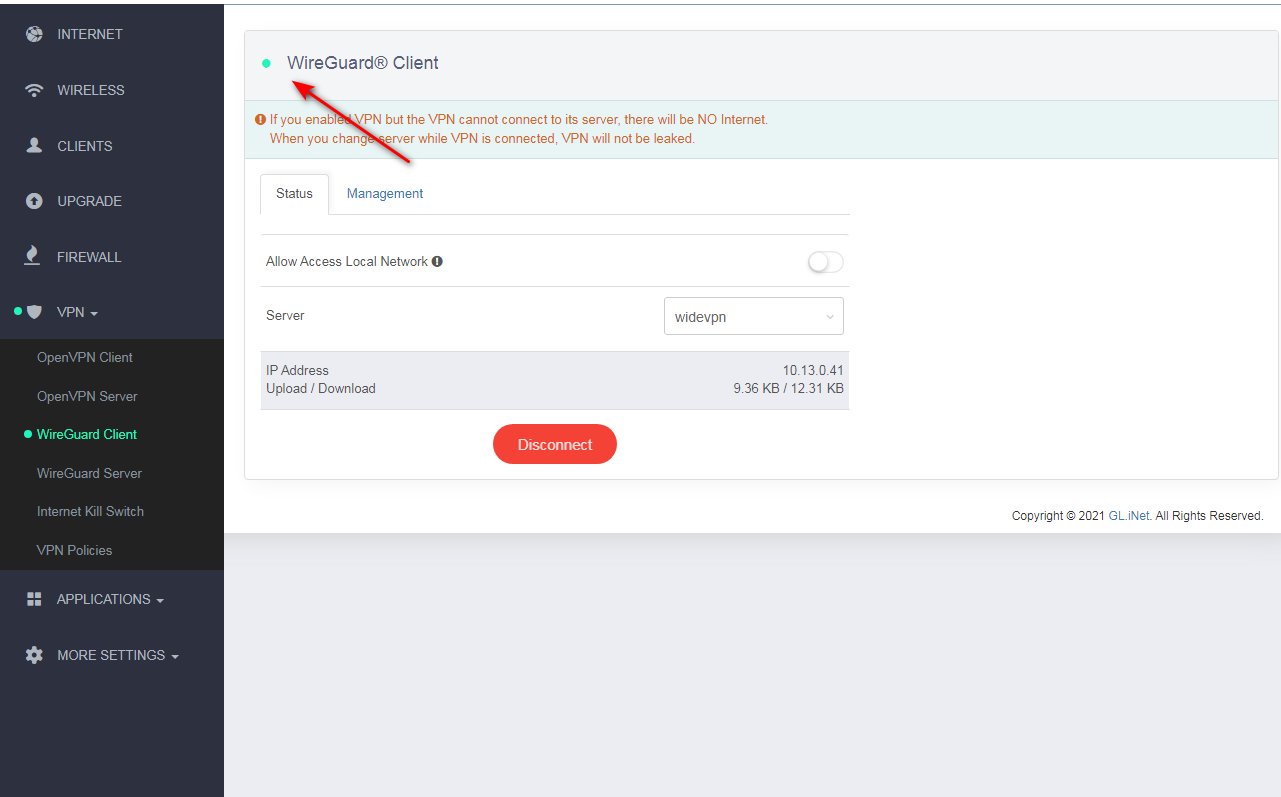
6 Connect to the VPN server on GLiNet router To establish a secure VPN connection, click Connect on the WireGuard Client tab.
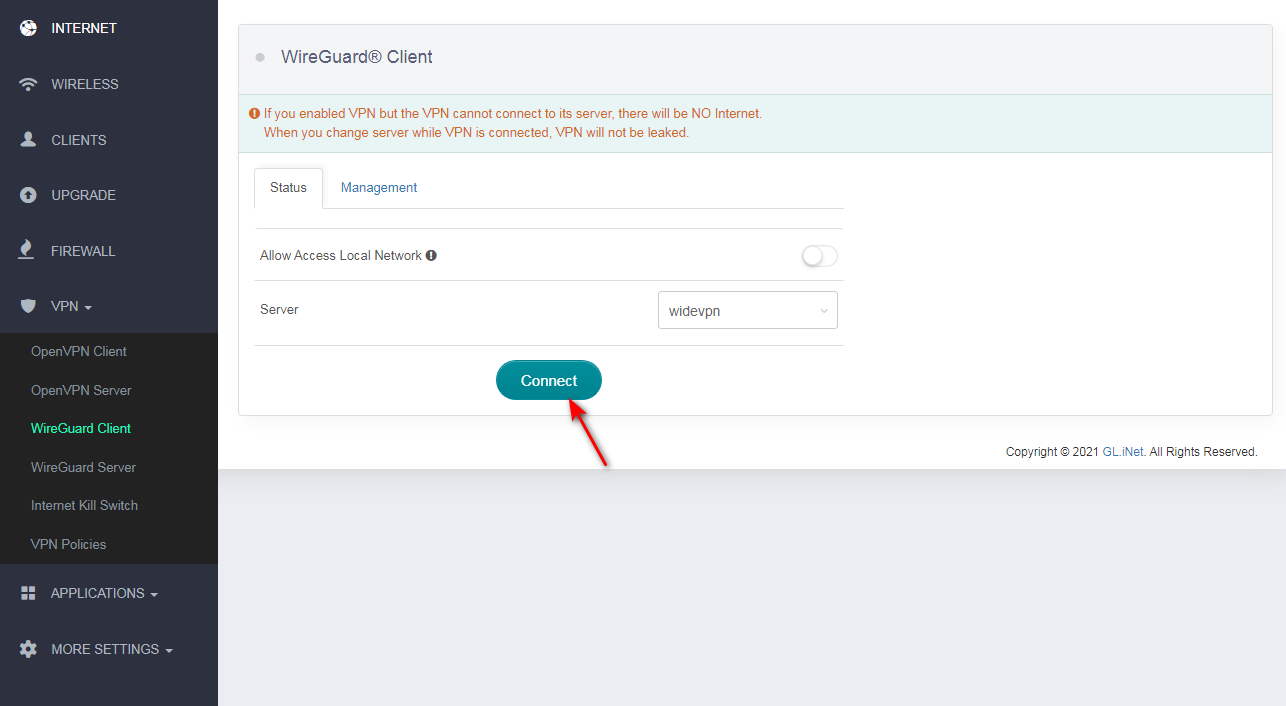
That's it. Now you have a VPN connection running through the WireGuard protocol.
