How to Set Up widevpn OpenVPN on GL.iNet Router
OpenVPN is a robust VPN protocol that ensures secure and private browsing. GL.iNet routers come with built-in support for OpenVPN, allowing users to easily connect to VPN servers. Follow these steps to configure your router as an OpenVPN client.
1 Log in to the Router’s Admin Panel Connect your computer or device to the router’s Wi-Fi network or use a wired connection.

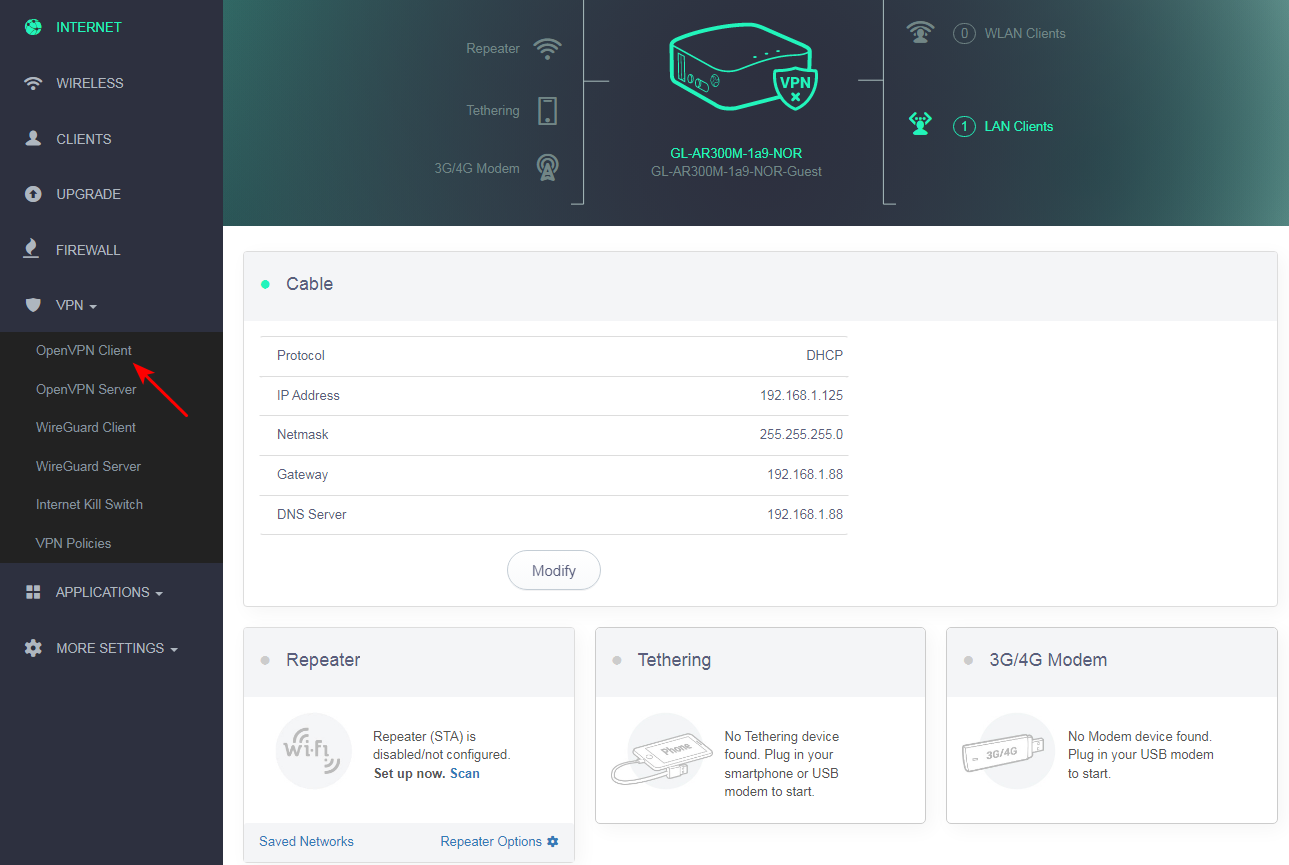
2 Select VPN and click OpenVPN Client.
3 Click Add a New OpenVPN Configuration.
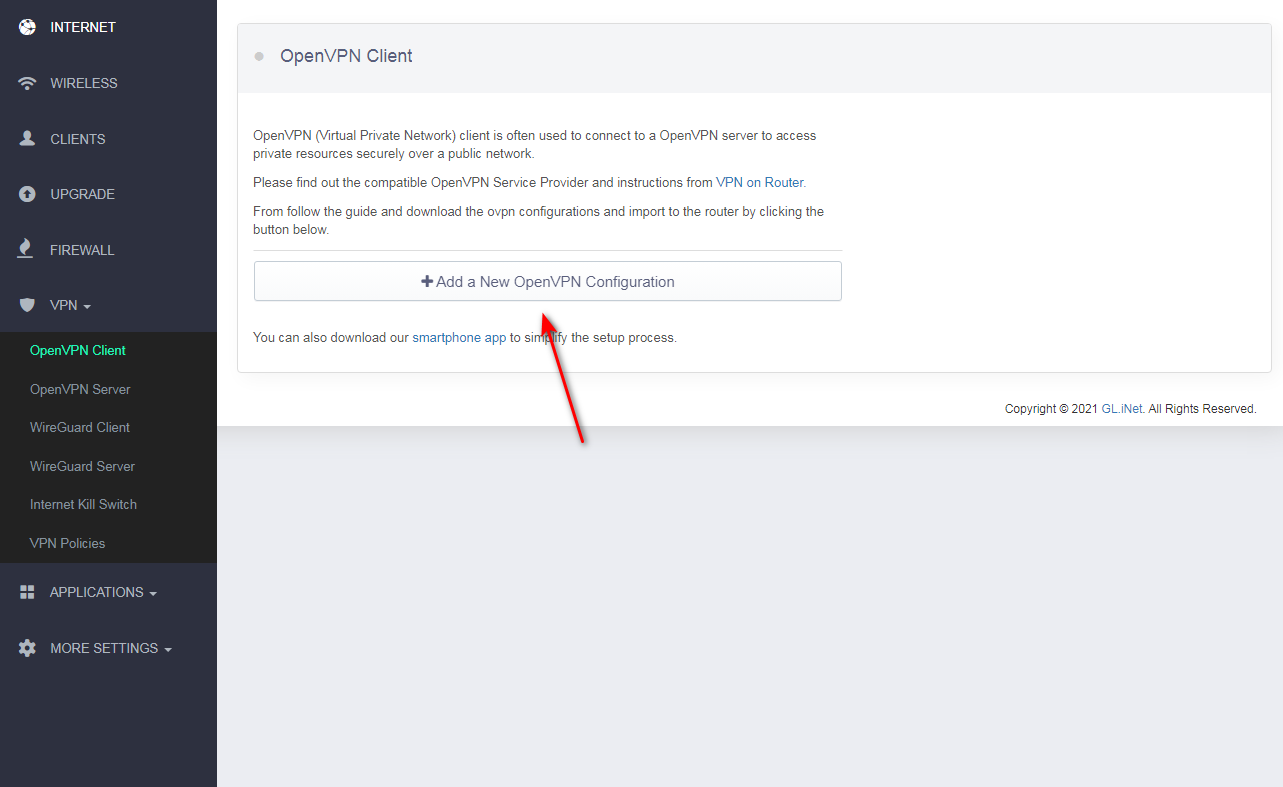
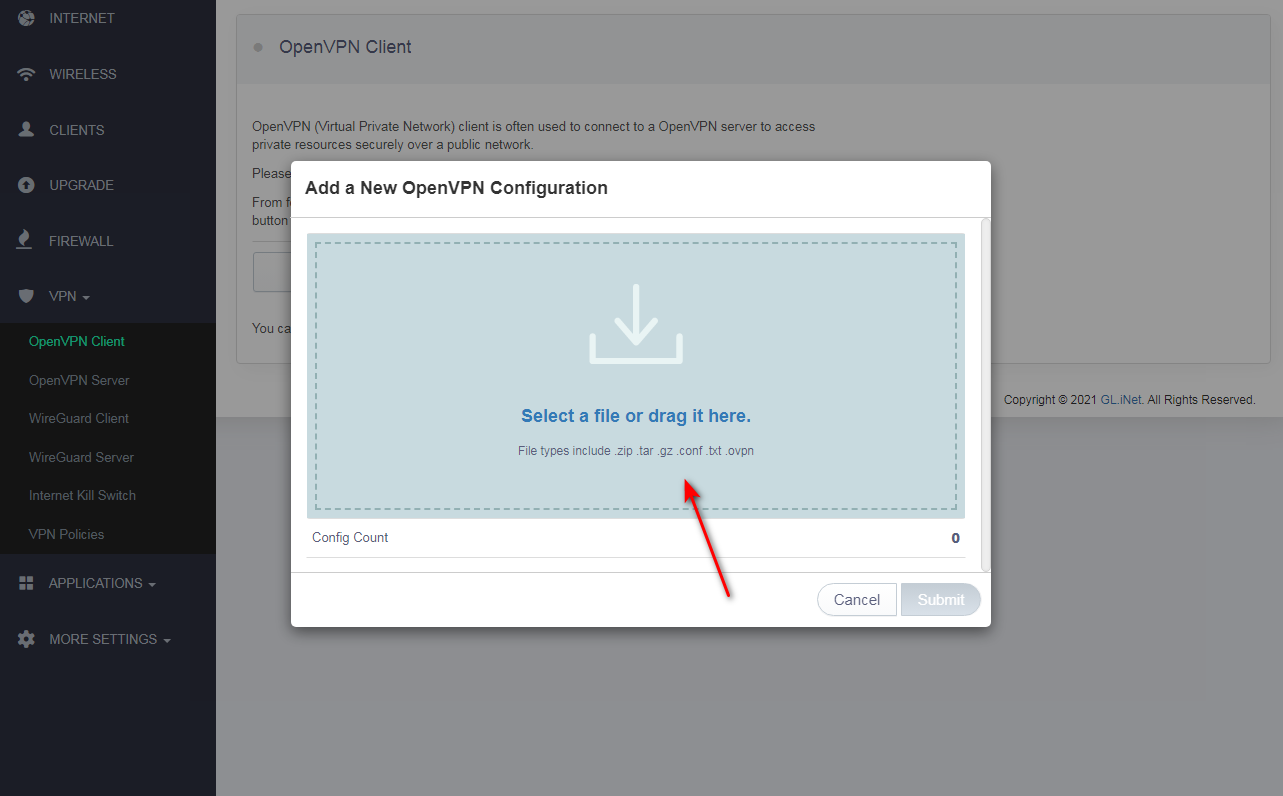
4 Upload Configuration Files to the Router In the admin panel, go to “VPN” > “OpenVPN Client”. Click “Add a New Configuration”.
Select a file with manual configurations or drag it into the Add a New OpenVPN Configuration window.
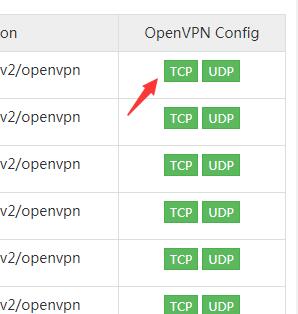
You’ve downloaded this file from your widevpn member center login member center, Download Config Files for widevpn FullVPN Network
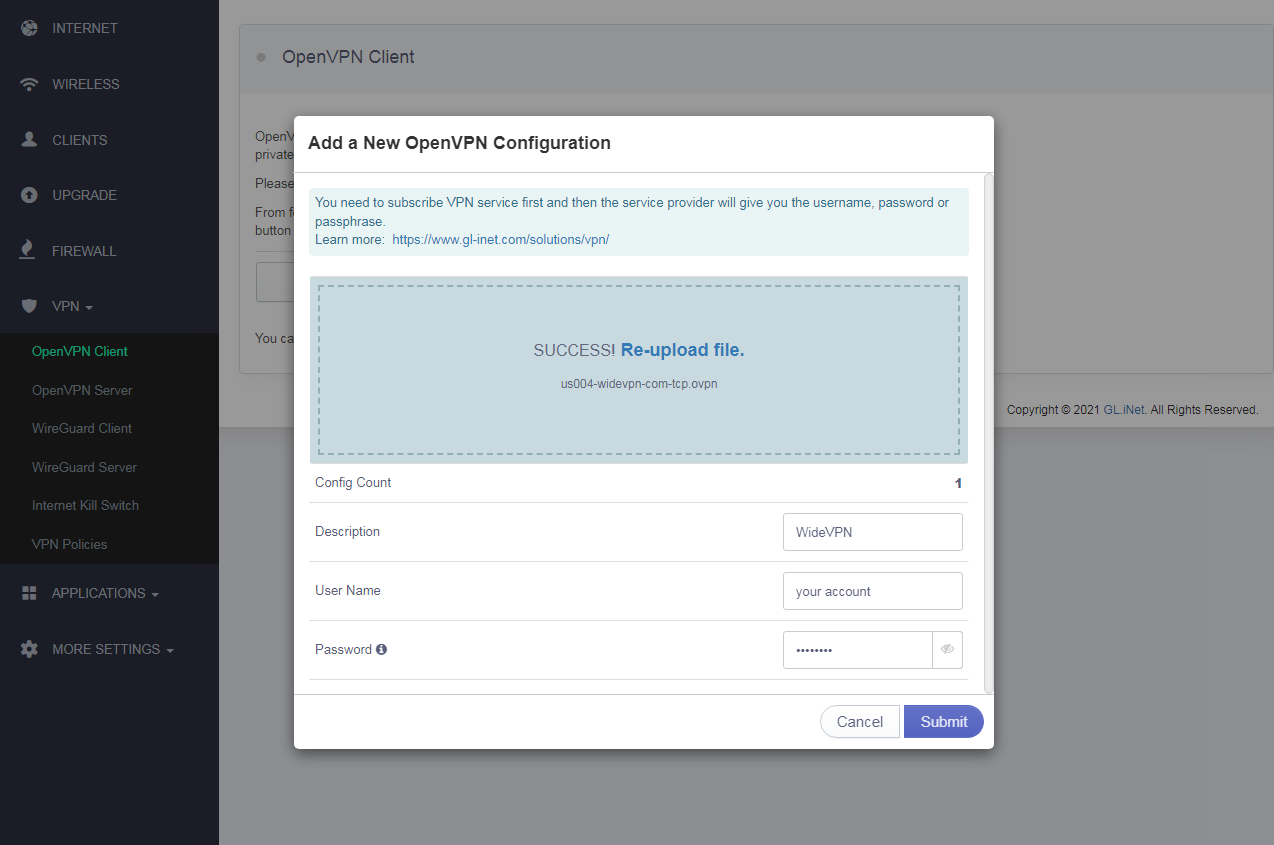
5 Fill in the Description field with the custom name of the new configuration, for example widevpn, and click Submit.
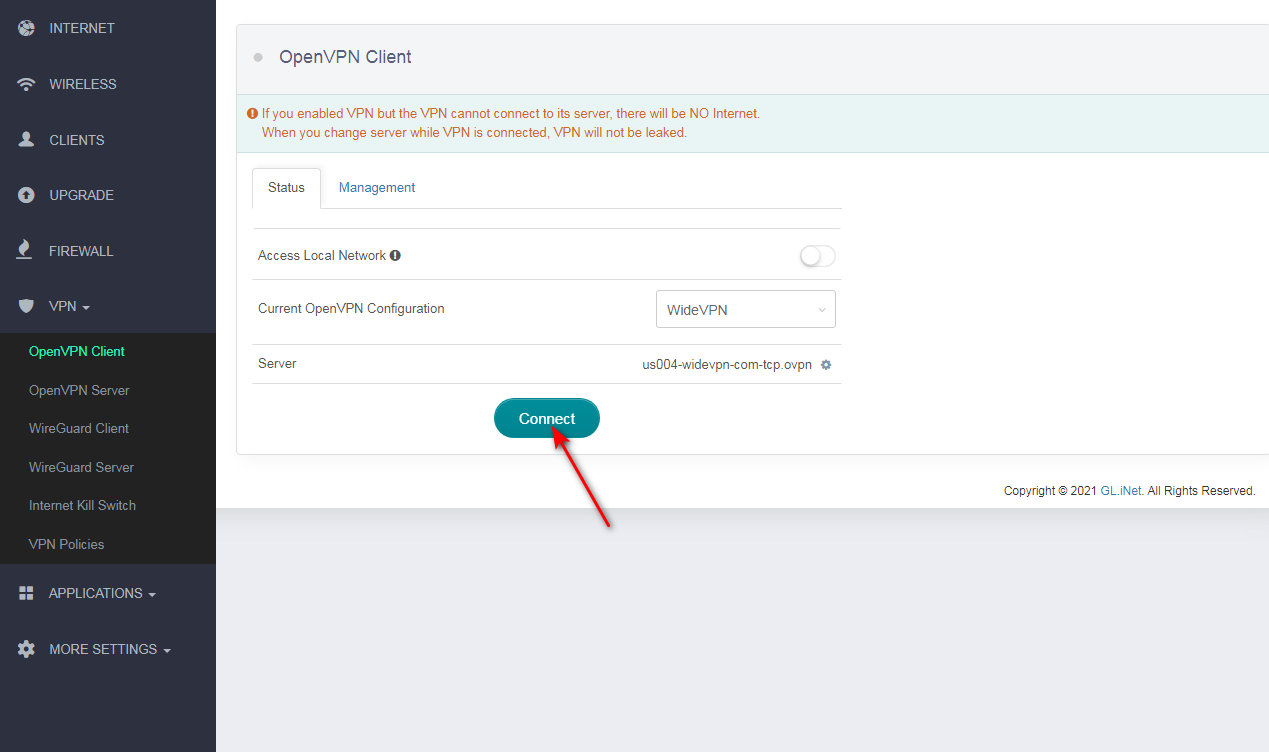
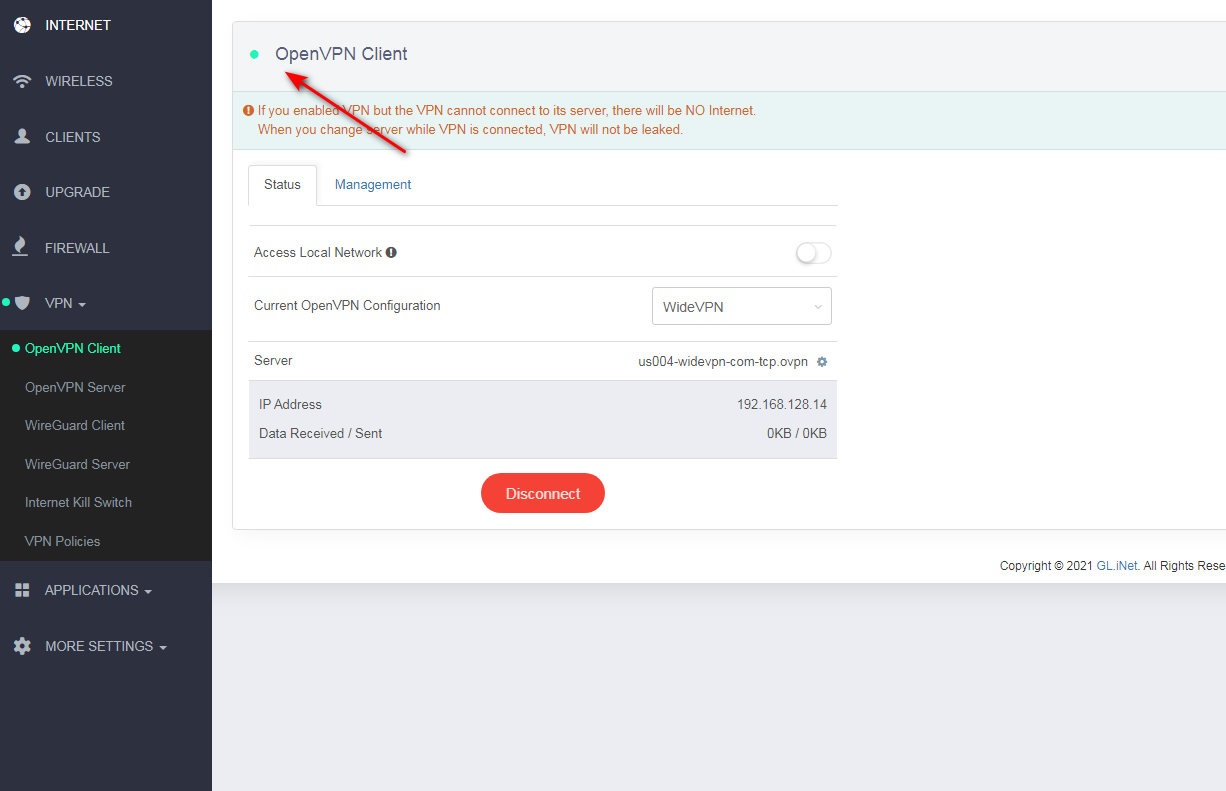
6 Once the configuration is added, it will appear in the OpenVPN client list. Click “Activate” to connect to the VPN. The status will change to “Connected” if the connection is successful.
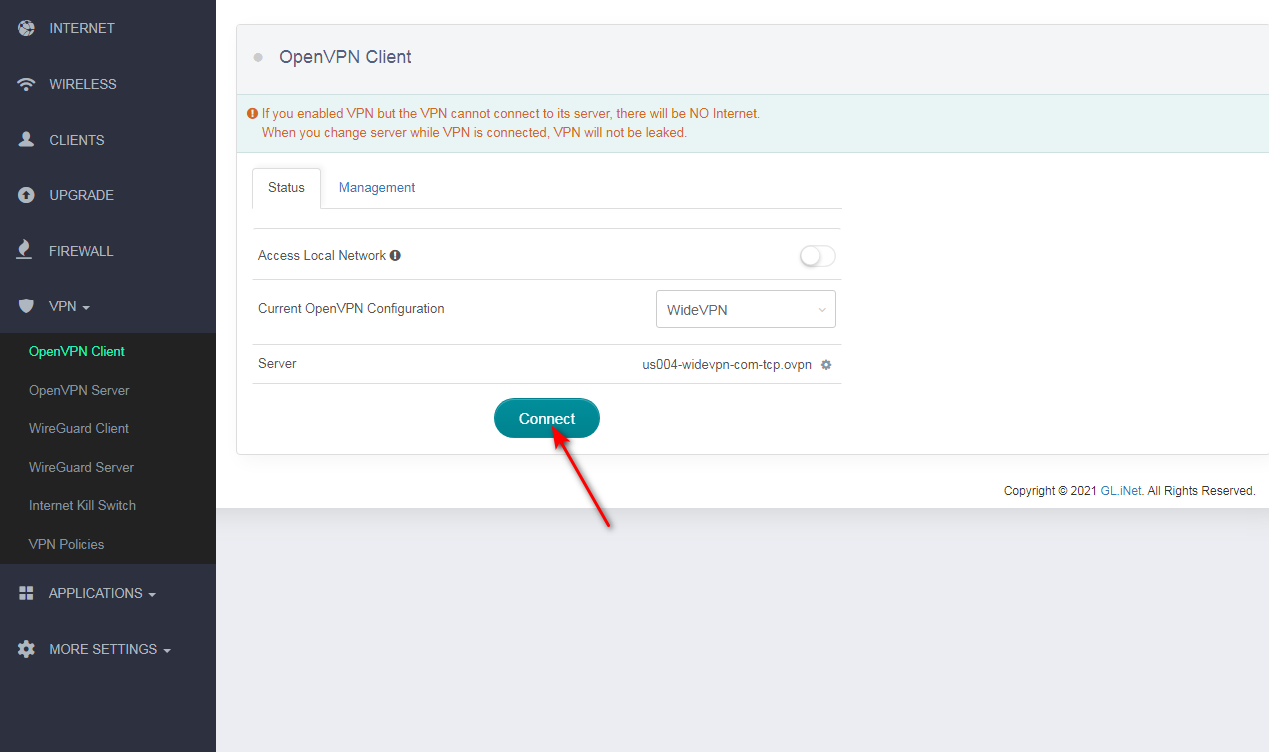
Well done! You’ve successfully set up OpenVPN connection on your GLiNet router.
Optional - Configure Advanced Settings
Navigate to “VPN” > “OpenVPN Client” and select the configuration.
Adjust advanced settings such as:
Reconnect on Boot: Ensure the VPN automatically reconnects when the router restarts.
Kill Switch: Enable the Kill Switch to block internet traffic if the VPN disconnects unexpectedly.
DNS: Use custom DNS servers provided by your VPN provider for enhanced privacy.